Back Loop Only Beginner Crochet Baby Beanie

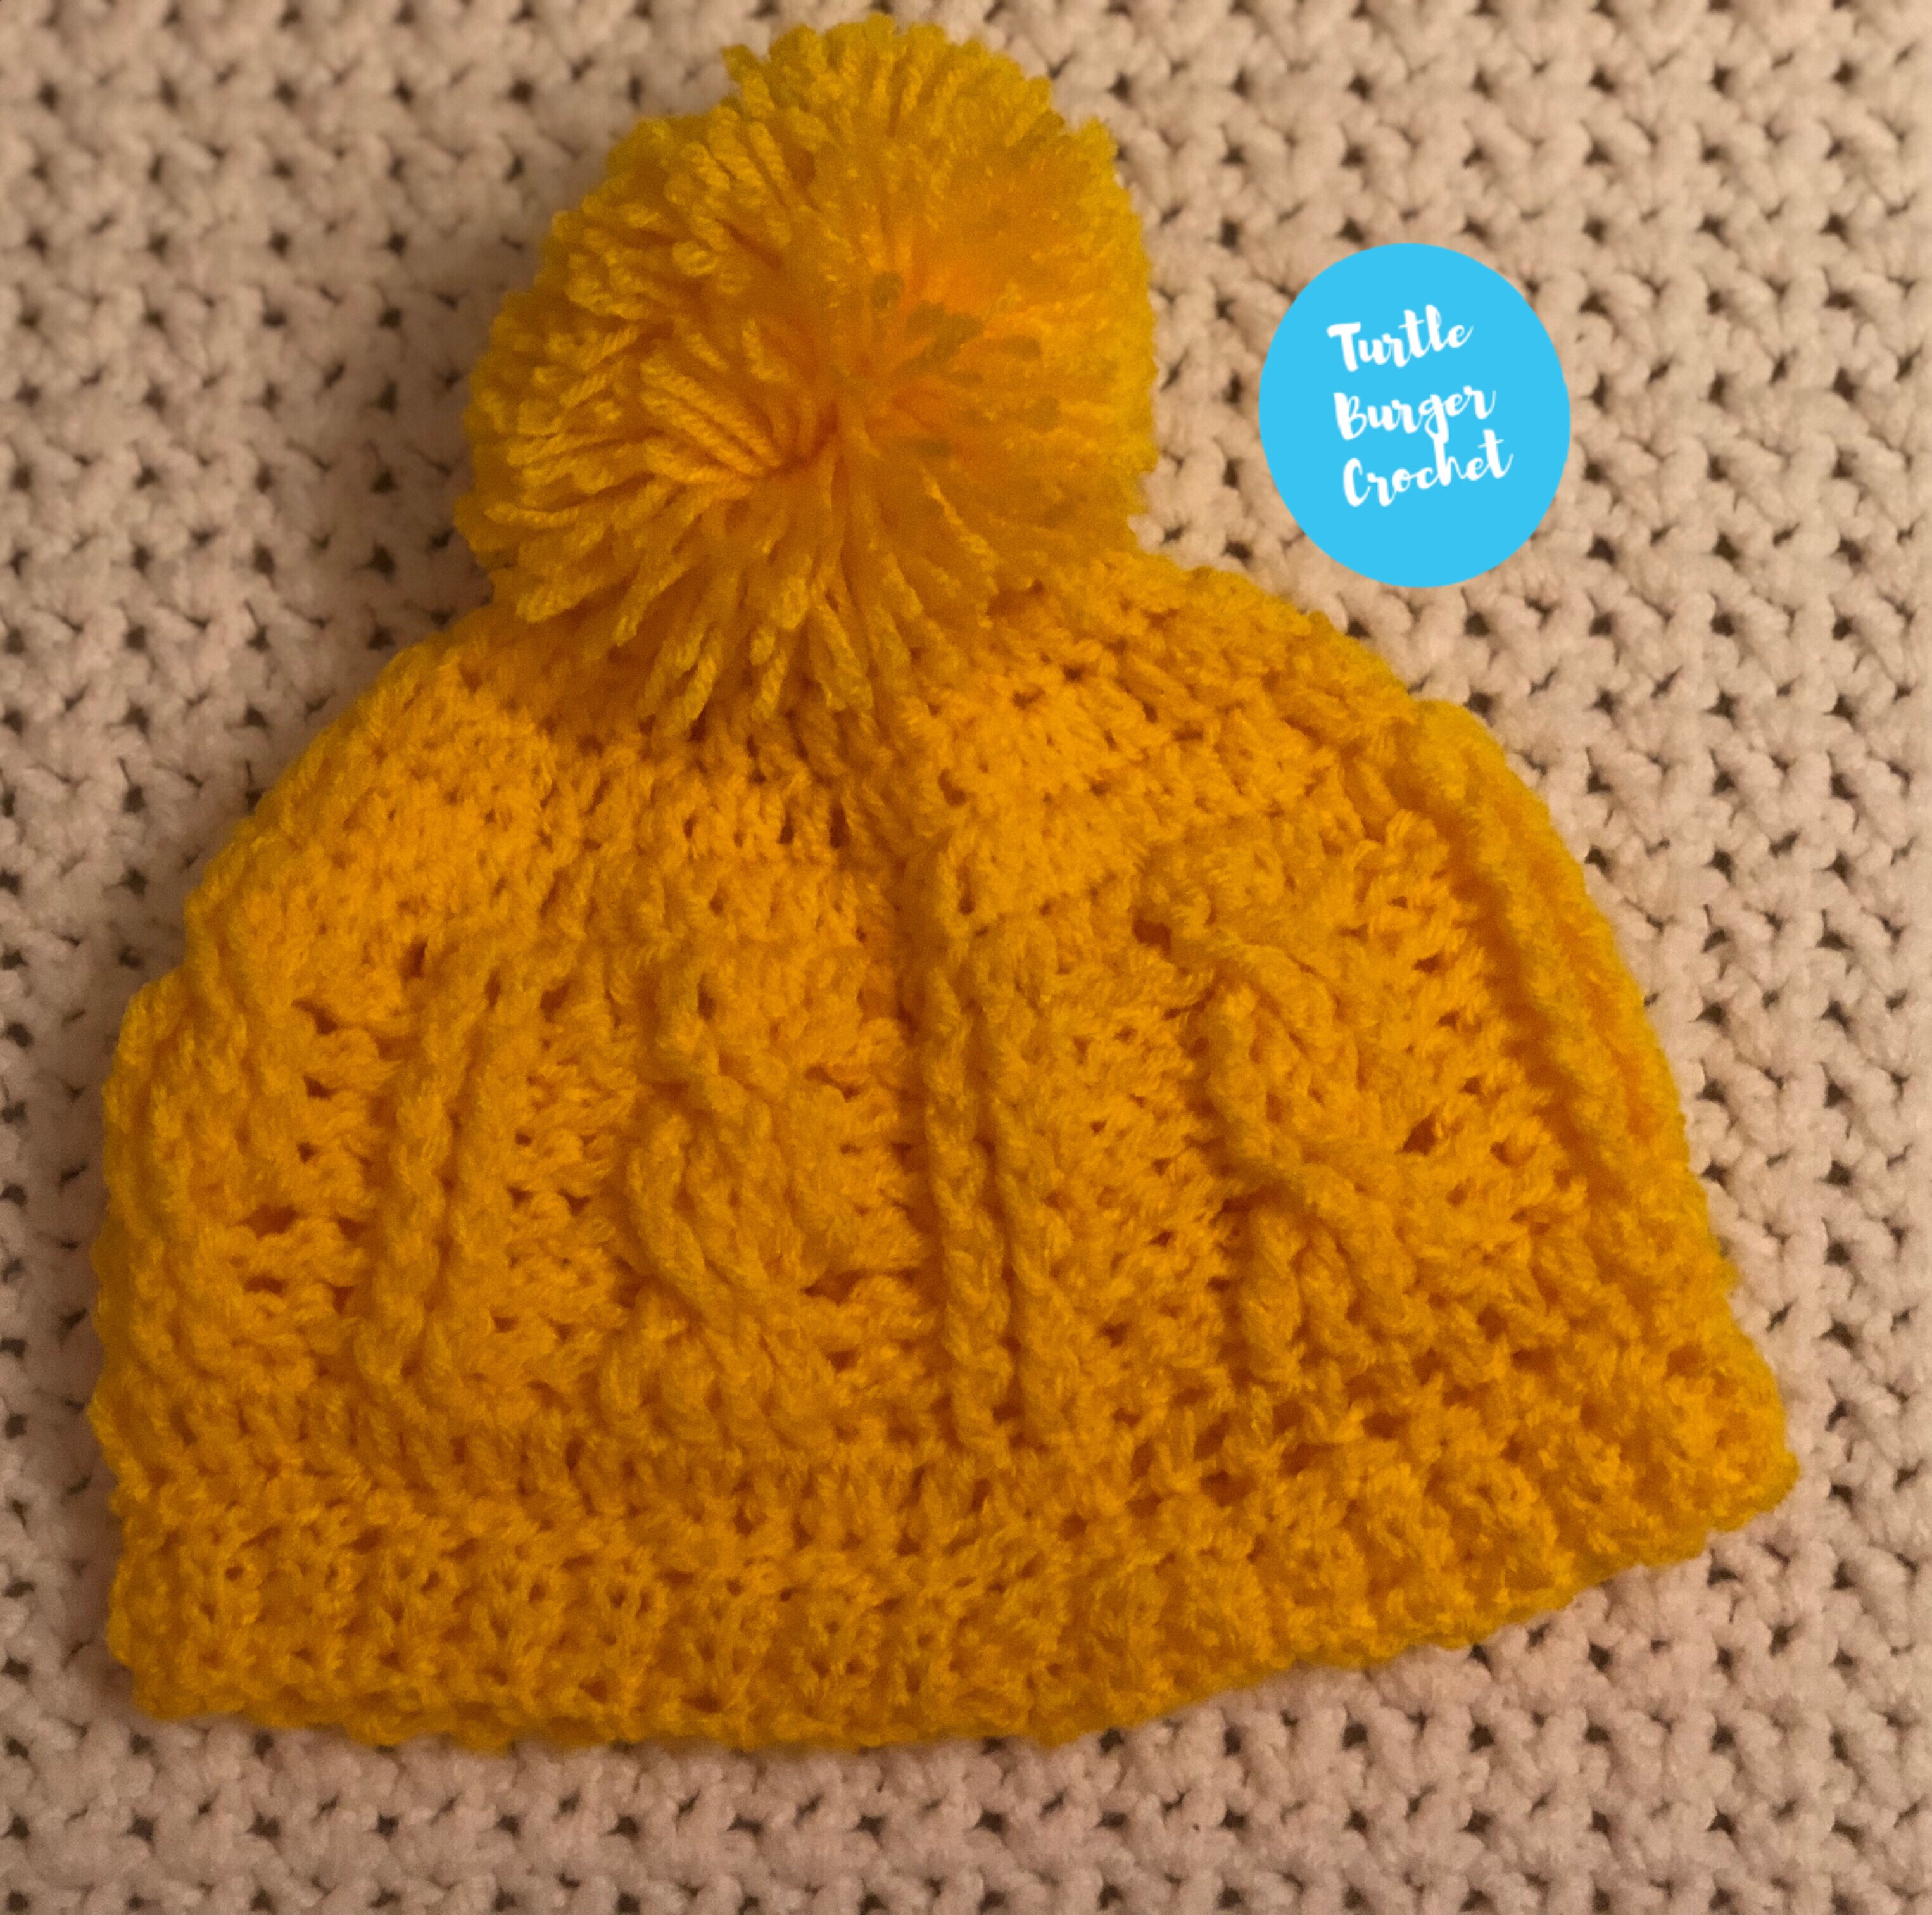
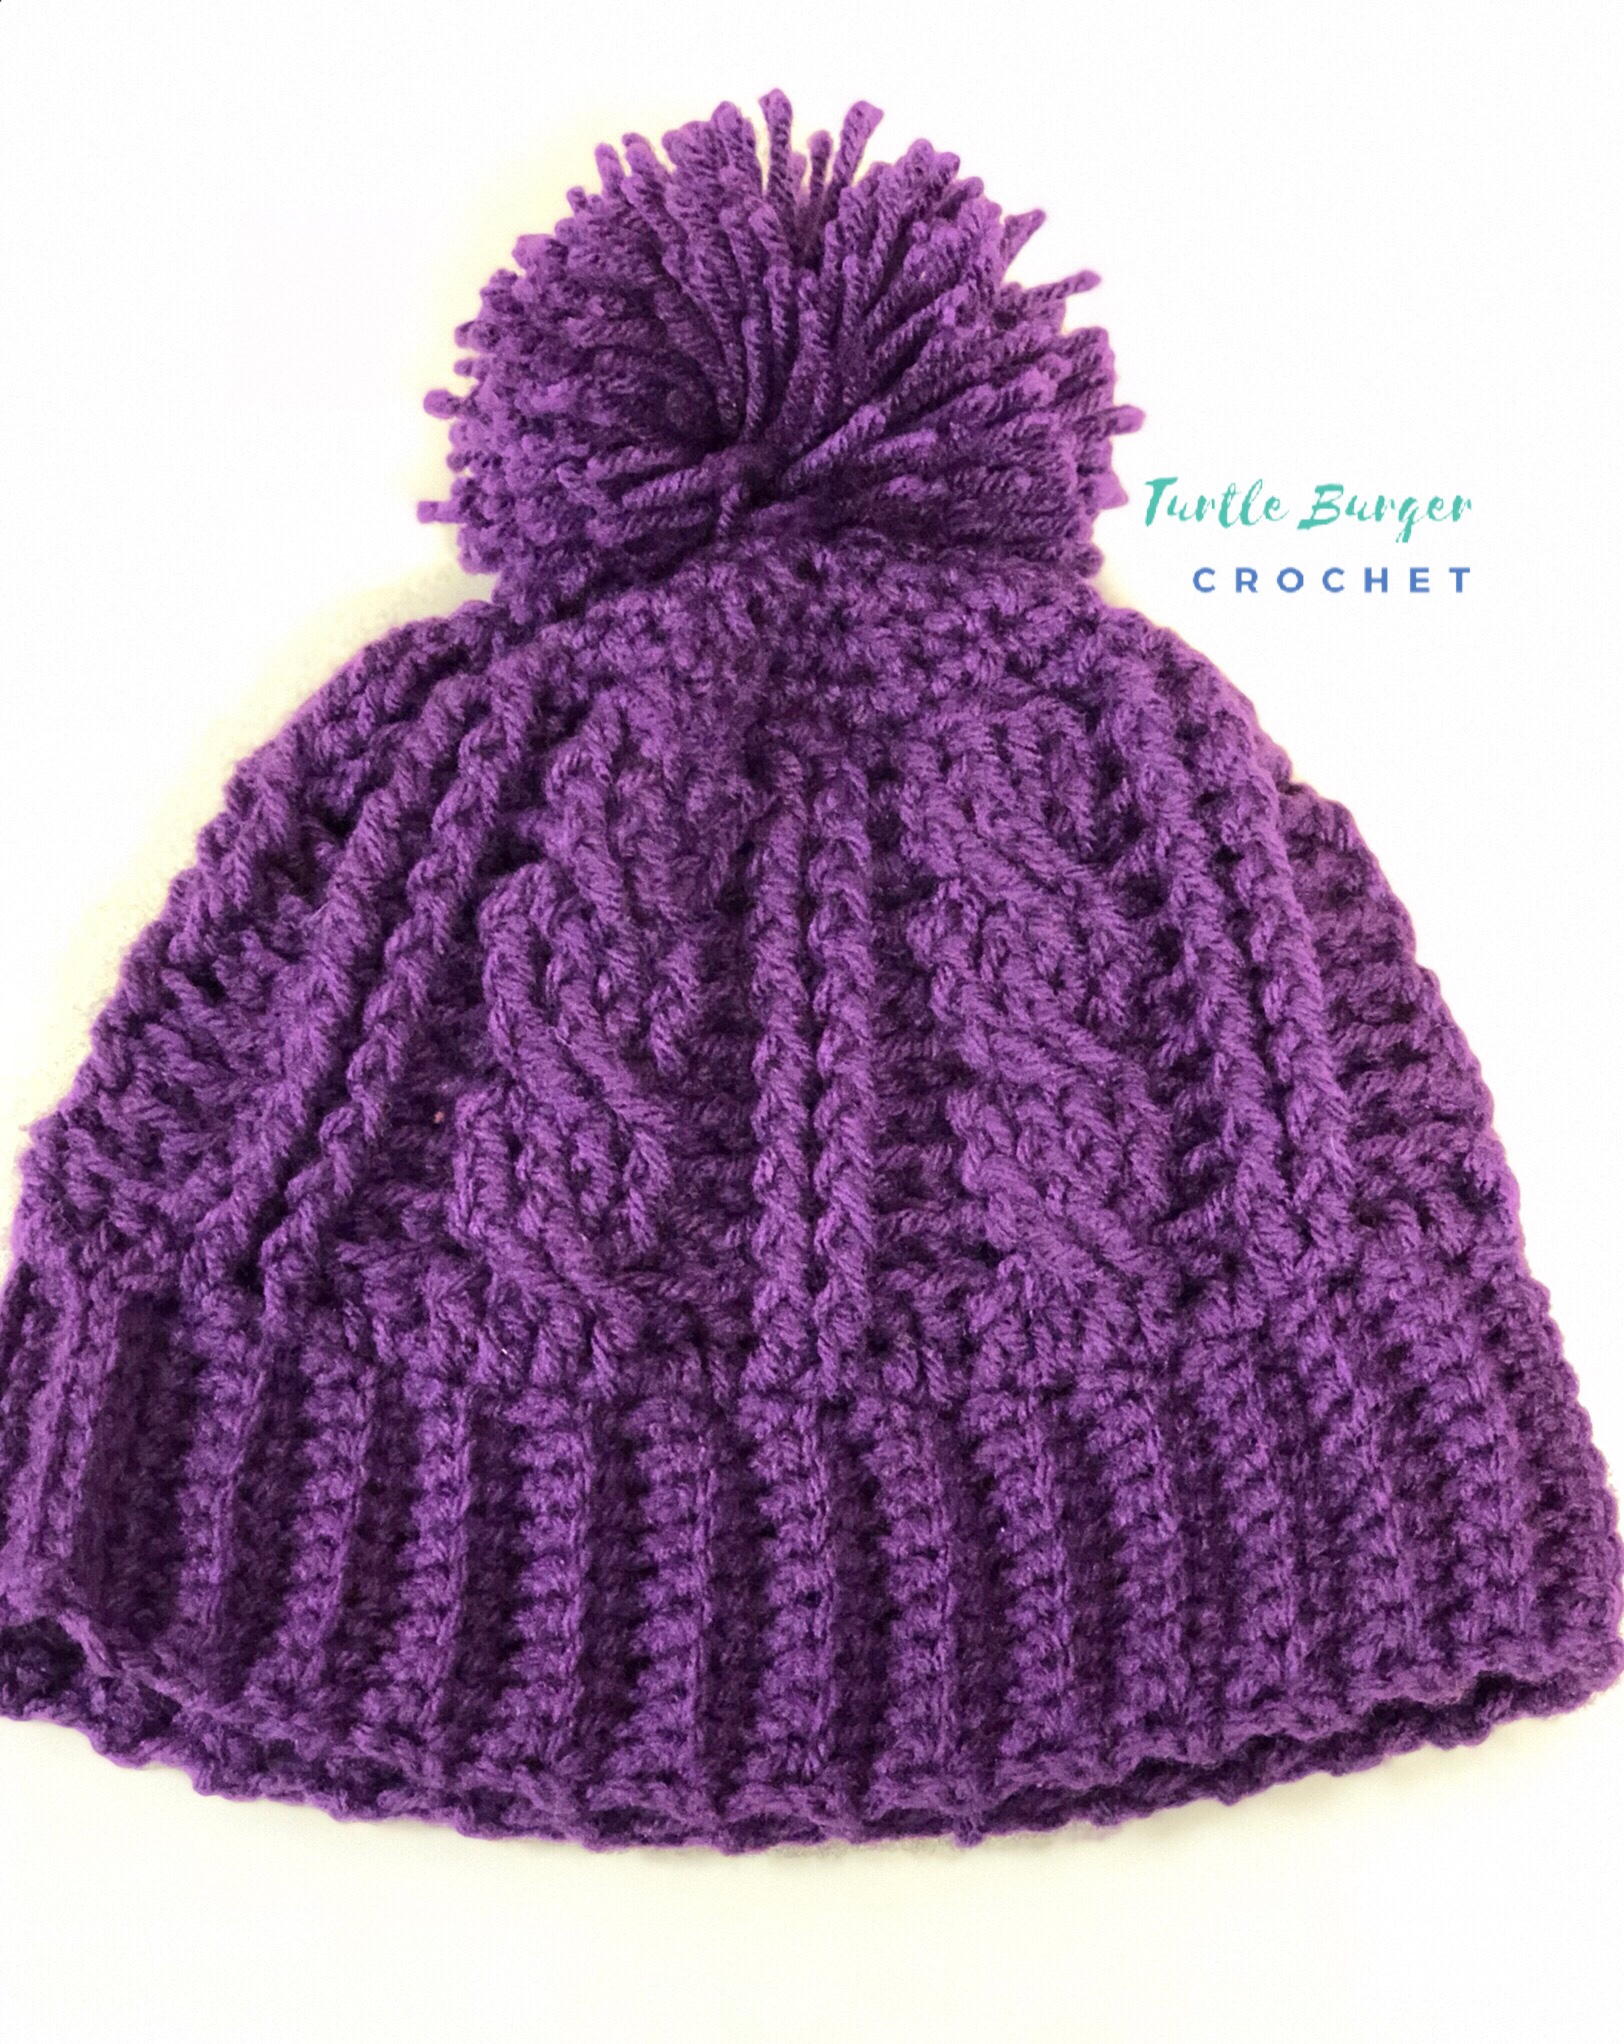
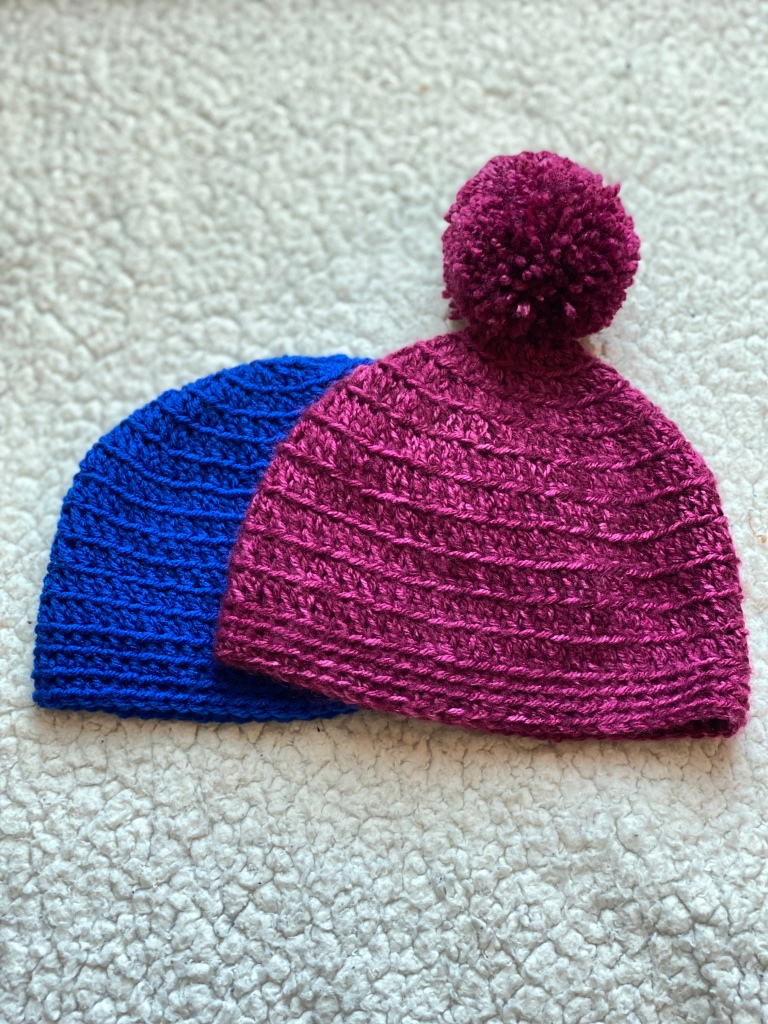
I have finally finished a pattern I started over 2 years ago. The Back Loop Only Beginner Crochet Baby Beanie in size 6-12 months.

Purchase an ad free pdf of the Back Loop Only Beginner Crochet Baby Beanie

Materials

• Size I 5.5mm Crochet hook •

2 oz Worsted weight yarn-I used Hobby Lobby’s I Love This Yarn in the color Berry Stonewash •

Scissors •

Tapestry needle •

Pom (optional-may require extra yarn although my example was 1.5 oz including pom)

Stitch Key (US Terms)

MR=Magic Ring

Ch=Chain

HDC=Half Double Crochet

BLO=Back Loop Only

SC=Single Crochet

Slst=Slip stitch

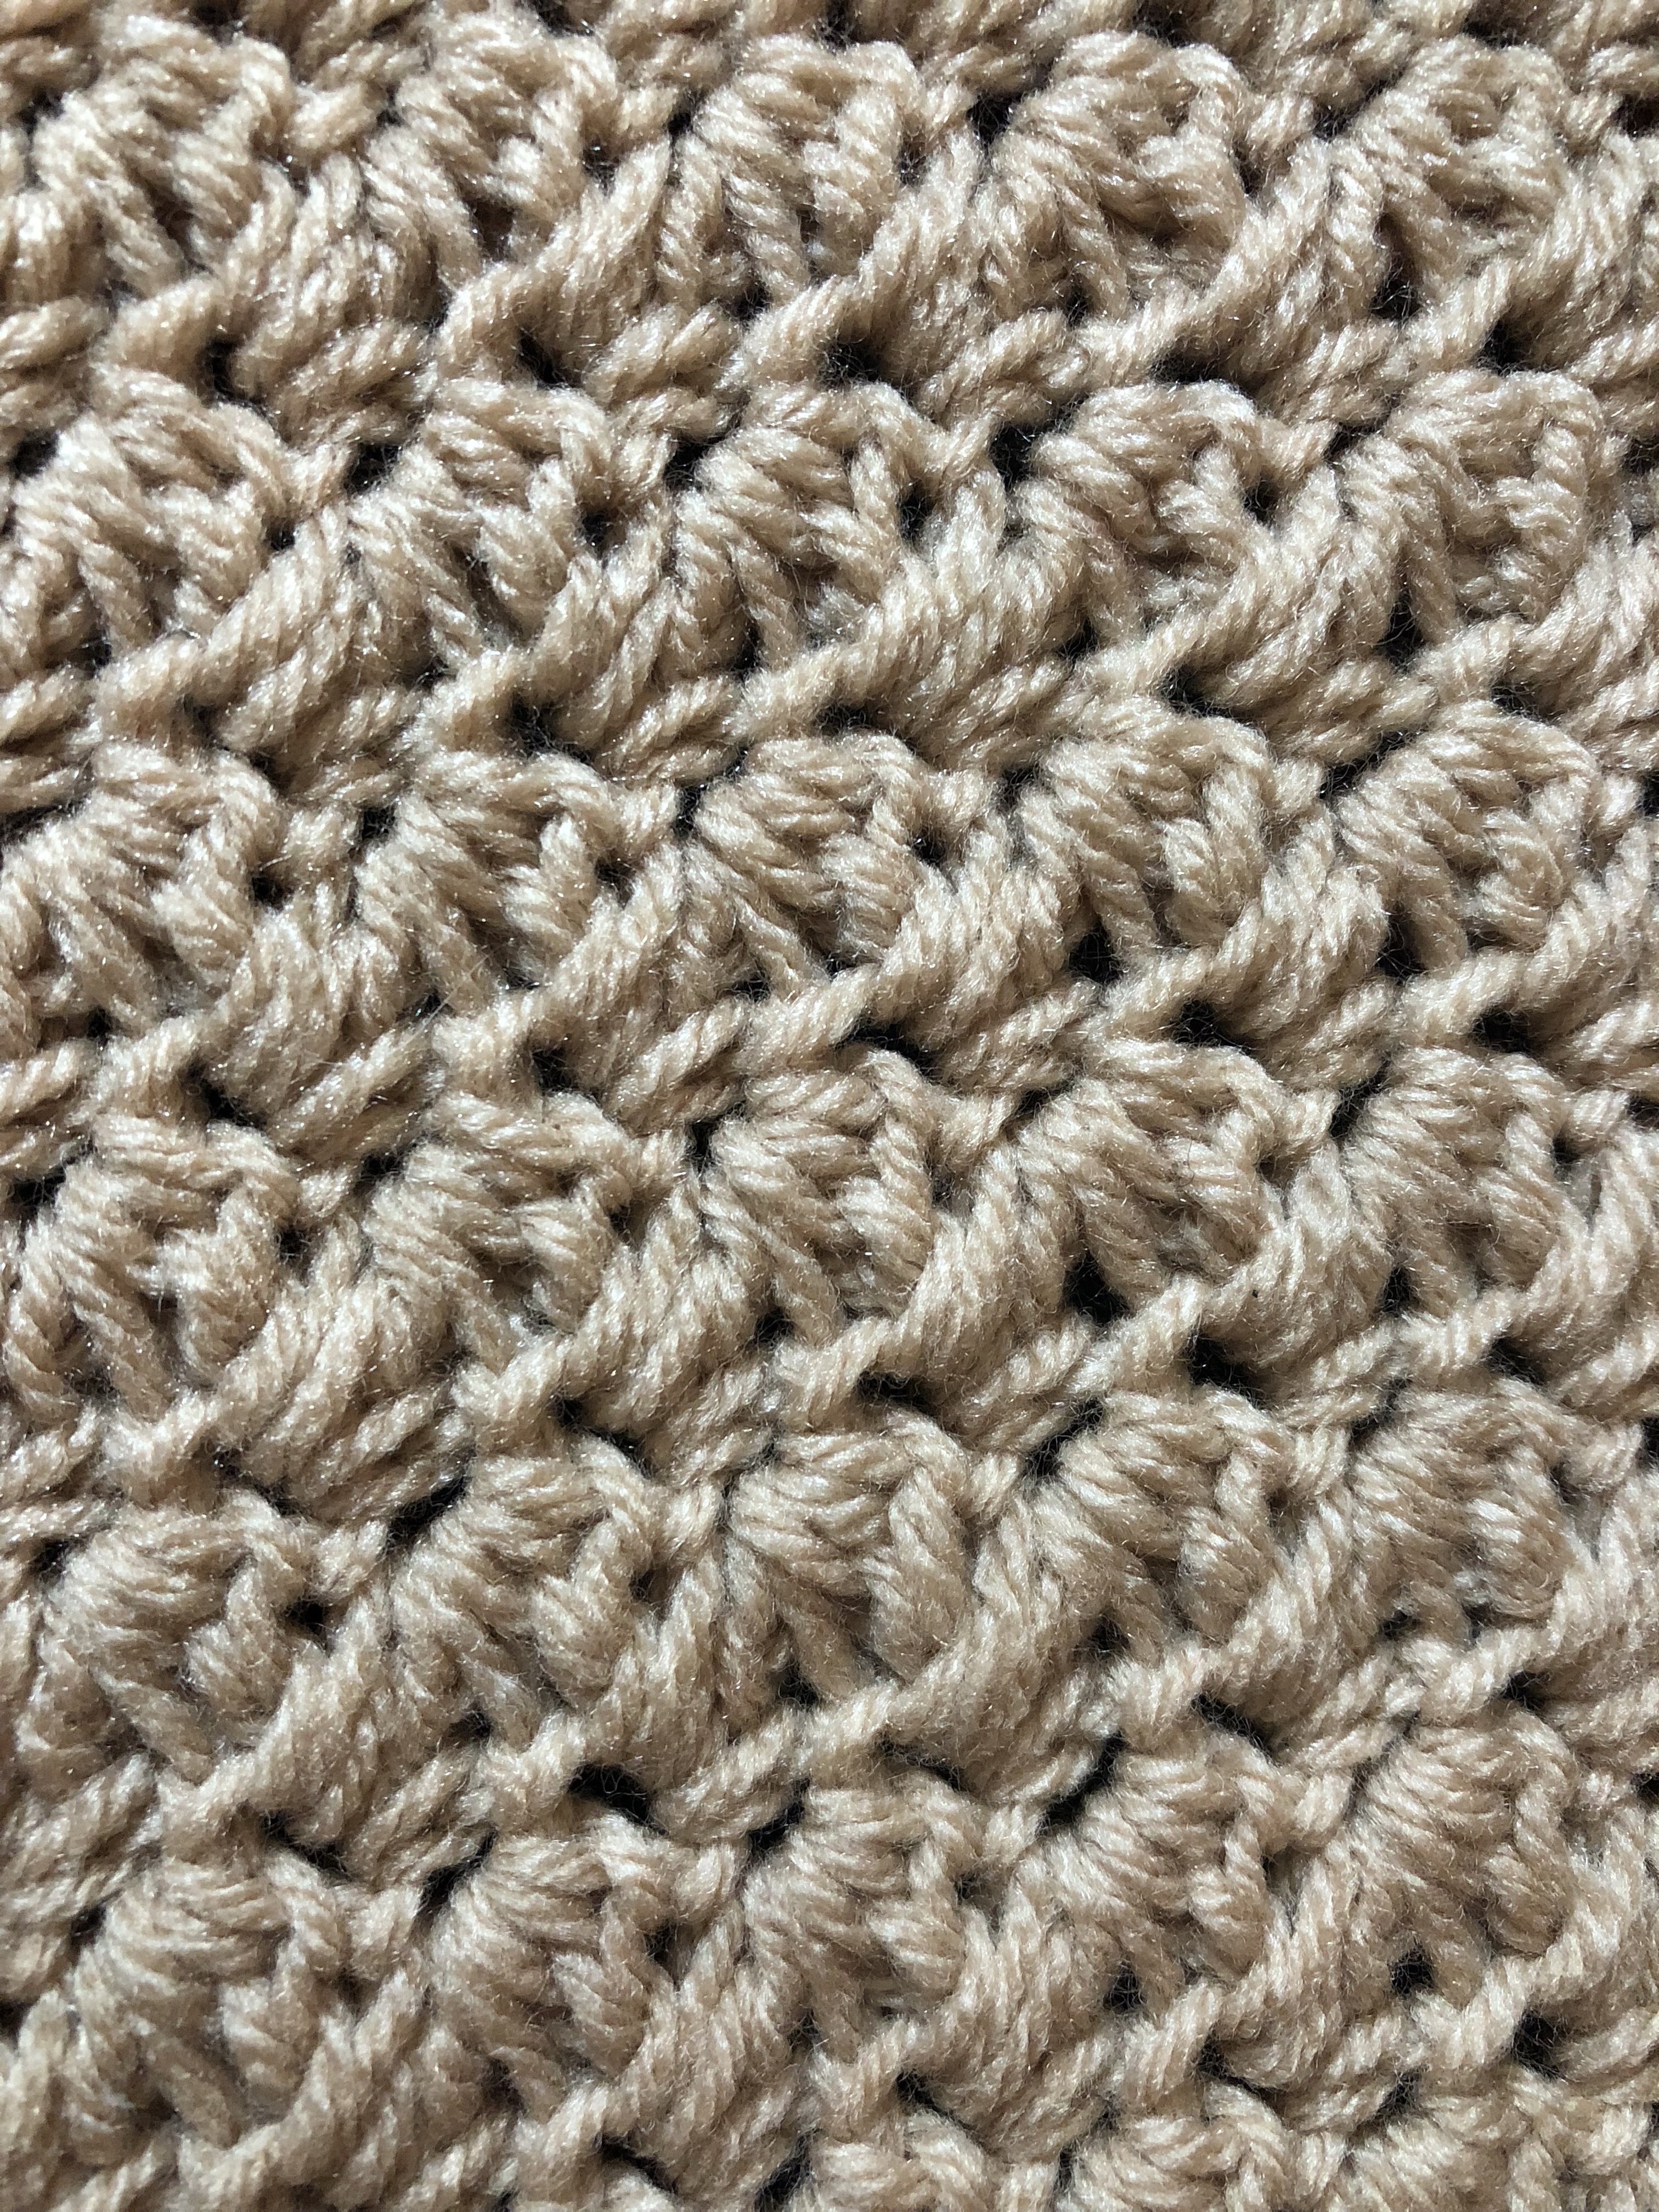
Back Loop Only Instead of crocheting through both loops as usual, only crochet through the back of the stitch, furthest away from you.

Note If you prefer not to use the magic ring, you may chain 3, join to the 3rd chain and HDC into the ring.

When joining after each round, make sure to slip stitch through BOTH loops of the first HDC of the round; then begin your first HDC through the back loop only.

Crown

Make a magic ring and chain 2

Round 1: HDC into ring 10 times, Slst through both loops of 1st HDC, ch 2. (10 HDC)

Round 2: 2HDC into BLO of same stitch as join *2HDC in BLO of next stitch. Repeat from *. Slst through both loops of 1st HDC, ch 2. (20 HDC)

Round 3: 2HDC into BLO of same stitch as join. HDC into BLO of next stitch. *2HDC into BLO of next stitch. HDC into BLO of next stitch. Repeat from *. Slst through both loops of 1st HDC, ch 2. (30 HDC)

Round 4: 2HDC into BLO of same stitch as join. HDC into BLO of next 2 stitches. *2HDC into BLO of next stitch. HDC into BLO of next 2 stitches. Repeat from *. Slst through both loops of 1st HDC, ch 2. (40 HDC).

Round 5: 2HDC into BLO of same stitch as join. HDC into BLO of next 3 stitches. *2HDC into BLO of next stitch. HDC into BLO of next 3 stitches. Repeat from *. Slst through both loops of 1st HDC, ch 2. (50 HDC).

Round 6: 2HDC into BLO of same stitch as join. HDC into BLO of next 4 stitches. *2HDC into BLO of next stitch. HDC into BLO of next 4 stitches. Repeat from *. Slst through both loops of 1st HDC, ch 2. (60 HDC).

Round 7: HDC into BLO of same stitch as join. *HDC into BLO of next stitch. Repeat from *. Slst through both loops of the first HDC, ch 2. (60 HDC).

Round 8-11: Repeat Round 7.

Round 12: HDC into BLO of same stitch as join. *HDC into BLO of next stitch. Repeat from *. Slst through both loops of the first HDC, ch 1. (60 HDC).

Round 13: SC into BLO of same stitch as join. *SC into BLO of next stitch. Repeat from *. Slst through both loops of the first SC, ch 1. (60 SC).

Round 14-16: Repeat Round 13. (60 SC)

Finish off and weave in ends

That’s it. You’re done! I hope you love this baby beginner beanie as much as I do. I’d love to see your finished hats. Tag me on Instagram #turtleburgercrochet

If you have questions, please don’t hesitate to ask.

KoKnit Bamboo Circular Knitting Needle Product Review

Today I’m going to be reviewing an inexpensive knitting needle set I found on Amazon: the KoKnit Bamboo Circular Knitting Needles.

A few months ago I decided I wanted to learn to knit but obviously didn’t want to invest a lot of money until I knew knitting was something I enjoyed and wanted to stick with. To me, it made more sense to find a set with a range of needle sizes so I wouldn’t be limited on what projects I could make.

I like to research so when I began researching beginner knitting topics, bamboo or wooden needles kept coming up because the stitches typically have less slippage. Additionally, I knew I was set on circular needles because I like to have options. I also decided I needed a case for organization. Lastly, I knew I was not willing to pay more than $20 for everything. I can be a tough customer when it comes to my money. Ha!

The KoKnit set met all of my parameters. It has a durable case, plenty of pockets in 2 zippered compartments, includes accessories and has 18 needles covering sizes 2mm-10mm.

The needles are really nice to be so cheap! Each needle is stamped with the size. As a beginner I really liked that. Also, they are very lightweight and smooth. I’ve not noticed any splintering. The only negative I have noticed about the set is sometimes my yarn does caught in a groove between the needle and where it meets the plastic cord. Since I’m not using expensive yarn as a beginner, it’s not a deal breaker for me.

Overall, I’m very pleased with my set-especially as a beginner. I definitely recommend the KoKnit Bamboo Circular Needles for anyone interested in learning to knit.

If you’d like to know more details on this set, please check out my full review on YouTube.

Fruit Salad

This is a really simple and delicious fruit salad. It’s great as a snack or dessert. It also is a great addition to picnics and potlucks. Feel free to substitute any fruit. If you make it I’d love to know.

Video Tutorial

Ingredients

1 pint strawberries (halved or quartered)

1 cup grapes (halved lengthwise)

2 bananas (sliced)

Lemon juice (to soak bananas)

1/2 cup white chocolate chips

8 oz container lemon yogurt (any fruit flavored without fruit on the bottom)

Cinnamon (to taste)

1/2 cup sliced pecans

Directions

Soak sliced bananas in lemon juice while you cut strawberries and grapes.

In a separate bowl mix yogurt and cinnamon. This can be made the night before.

Pour yogurt mixture over fruit

Top with pecans

Enjoy 😊

Cucumber Tomato & Red Onion Salad

Turtle Burger Crochet is now on Youtube! Please visit my YouTube channel and press the like button as well as Subscribe for more cooking videos. I’m also working on adding crochet videos. Thank you for your support as Turtle Burger Crochet expands to my many interests.

Cucumber, Tomato & Red Onion Salad

In this video I show you how to make my easy Cucumber Tomato & Red Onion Salad. It’s a great recipe for any day of the week or to take to potlucks, picnics or any other gatherings.

Ingredients
2 packages mini seedless cucumbers (sliced)
3 Roma tomatoes (diced)
1/2 Onion (any variety, thin slices)
1/2 cup diced pickles

Dressing
3/4 c Mayo
2tbsp sour cream
1/2 tsp celery salt
1/4 tsp garlic powder
1/2 tsp black pepper
1tsp honey mustard

Directions
Mix all ingredients of dressing (can be made in advance). 2 hours or less before serving pour over sliced and diced vegetables and toss till all ingredients are coated.

Instagram @turtleburgercrochet


Video Tutorial


Turtle Waffle Stitch Scarf Cowl

I found this scarf on Ravelry but followed along with her YouTube channel.

Turtle says he can wear it forever. Turns out forever is just a weekend but he never took it off. This was such a fast and easy make that many more will be made. It’s hard to find a crochet scarf that is truly unisex in my opinion. The waffle stitch fits that mold perfectly.

Yarn used: 1 skein each of Hobby Lobby’s I Love This Yarn Sport in colors Navy & Soft Blue

Hook used: G/4.00mm

Do you love the waffle stitch as much as I do?

Britnee

Crochet Vina Hat

So if you read my last post you already know I’ve been trying to find a good top down cabled hat. As a recommendation from @astitchshyofnormal on Instagram I thought I’d try the Vina Hat.

The first 3 rows went beautifully and then I got stuck on the 4th round. For the life of me I couldn’t figure it out. After several tries, I persevered. I kept on keepin’ on (thank you Veggie Tales). I am so glad I didn’t give up on this pattern. It turned out beautiful. It is slightly big and long for my head so I actually didn’t do the last 3 rows of the brim. I like it anyway.

Just in case you’re wondering. I didn’t intentionally make this a Santa inspired hat. If you’ve read many of my posts you’ll know I prefer to practice patterns I’ve never done before. This was no exception. I was using scrap red yarn and ran out. It was between a white or black brim. Ternie and I decided on white. I guess if you’re an Indiana University or University of Mississippi fan this is the hat for you.

Also, I just have to say I’m so excited to finally have a model head. I don’t care if she’s styrofoam. It may sound weird but she seemed to stand out at Hobby Lobby amongst all the other heads like she was saying “Pick me! Pick me!” I think that means she needs a name. Any suggestions?

Happy Crocheting,

Britnee

Crochet Top down Cable Beanie and Alternative to Faux Knit Brims

First, isn’t this yellow gorgeous? I admit I’m longing for spring/summer and this reminds me of sunny days.

In my last post on the blog I made an adult sized purple cabled beanie. I really enjoyed it on a few super cold and breezy days.

While I was making the purple beanie I thought I would prefer a top down cabled beanie. A ribbed brim takes forever (seemed like it anyway since I was eager to start cabling) plus not caring for cinched tops, it all seemed to make sense in my head.

As usual off to YouTube I go. I couldn’t find any top down cabled beanies that I cared for. Retraction: I did end up finding one but I was having a hard time following along. Also, there is another one on Ravelry I haven’t mastered yet so that’ll be in a later post.

Well now what do I do? Try to come up with my own, of course! So here’s what I know from the purple beanie: I was working with a total of 60 stitches. So I increased the yellow hat to 60 stitches followed by a round of 1 double crochet. Then I followed the regular cabled pattern as usual. Essentially they’re upside down cables but it worked and looked nice. So once I got as many cables as I wanted I needed to figure out how to get a faux knit look. I didn’t want to use the typical alternating of front post and back post. On YouTube though I found several tutorials that teach a method that looks just like if I had started with the brim. Here’s how it works: after slip stitching to join you chain up however wide you want the brim to be (I only did 5 chains since it was a child’s hat). Then you single crochet in the back loop only back down the chain. To anchor the brim you slip stitch into the next 2 stitches. Then work back up the back loops of the chain. It was much easier than I’m making it sound. The tutorial I recommend is from @tlyarncrafts.

So here’s what I think about working top down cables and the alternative faux knit brim: While top down works up much faster it’s worth taking the time to start with the brim and work your way up. It just has a more polished finish overall. The alternative faux knit brim looks kinda wonky so maybe I just need practice. Toni’s looked great in her video so I’m sure it’s me. Also the typical crown increasing just looks kinda odd. It gives the crown a kind of square shape that I like a lot less than a cinched crown I can halfway hide.

Lastly, here’s the details on the size, hook and yarn. I’d love to know if you have a favorite top down cabled hat pattern. Leave a comment.

Hat size: 12 months

Hook: I9/5.5mm

Yarn: Hobby Lobby I Love This Yarn Sport in color Sun Yellow.

Britnee

Cable Beanie with Pom Pom

Hi readers! Check out this gorgeous purple beanie! I’m over the moon excited about it on a couple levels. If you read my last post you’ll remember I mentioned a 2018 goal is to learn one new stitch a month. I’ve already been working on several I’m not ready to reveal yet but the cable beanie is officially a finished & successful product.

There are stitches/techniques I’ve shied away from because I just wasn’t sure if my skills were ready to tackle them. Cables are one of them. I really don’t know what I was worried about. I loved making them! This hat kept me interested. I never found a written pattern because apparently it’s only on a Facebook group; however, I was following along on YouTube with kraftsbyyvonne. She was very easy to understand and I recommend this video for beginner cable-ers. I did make an adjustment. The pattern calls for 4 cables. When I made the 4 cables it was a little more slouchy than I cared for so I frogged it back to just 3 cables.

This hat offered a 2 for 1 special on my resolutions: working hats bottom up. I’m not really a fan of the cinched look of bottom up hats at the crown so I’ve pretty much avoided them. I found another YouTube video though which offers a technique of closing the hole at the top of the head. In my opinion this was a great solution because it doesn’t have quite a dramatic appearance of being cinched (is there a better term for this?). I really do recommend the video by whiletheyplay. If nothing else, you’ll learn a new way of doing things.

Lastly, I’m loving this Pom Pom I made with my new Boye Pom Pom Tassel Maker! I think I could’ve even gone up a size.

Overall, I love this hat and they will be added to my Etsy soon. Contact me for details if you can’t wait for me to get started on your customized cable beanie.

Yarn shown is Red Heart Super Saver in color Dark Orchid.

Hook size used was I9/5.5mm

Britnee

WIP 1/17/2018

So for 2018 I decided to “clean” my Ravelry queue by making the hundreds of items I save and never get too (I should be doing this to each area of our house but maybe this will motivate me, eh?)

The first project I selected is the LOVE IS IN THE AIR VALENTINE COWL by Oombawka Designs.

If you follow me on Instagram (@turtleburgercrochet) then you already know I’m indecisive about this one at the moment. Maybe it’s the yarn (Redheart Super Saver) or maybe it’s just not the right time for this project. Something just feels off about it so on Ravelry I’ve hibernated it. I may come back to it…one day.

My next project (also in Redheart Super Saver) I’m completely adoring. I already strayed from Ravelry on this (ok I actually went and added it but I saw it first on Instagram). It’s the Habitat Cardigan by Make and Do Crew. I haven’t gotten very far with it. Anyone that follows me regular knows I like making practice pieces first before I give things to people. I have 2 sweaters I want to make for 2 special moms in my life but I want it to be something they’ll love and actually wear. I think this pattern could be it. So here’s the sneak peak of my practice cardigan.

For RedHeart it’s incredibly soft. For the actual gifts though I’ll probably get Red Heart With Love and it’ll be soft and cozy and warm.

Now an update on what I want to do. I never post goals or resolutions or anything because to be honest I probably won’t keep or achieve most of them. However one of the projects I want to do is a houndstooth scarf. I watched some videos last night on how to do this stitch and I thought to myself “it’s so easy! I’ve completely got this!” I was very excited for myself. Then a thought occurred to me. I will learn one new stitch a month and make a reasonable project using that stitch. So here I go. I’m making an official goal. Stay tuned.

Have you or do you make goals or resolutions and then keep them?

Britnee

Ring Around the Rosie Cardigan

Ring Around the Rosie Cardigan by The Lavender Chair

Size 12-18 months

Sleeves are optional

Yarn used is Hobby Lobby Yarn Bee Soft Secret Ombré in color Whisper

I love this pattern. I do want to try the sleeves as a 3/4 sleeve. I think that would be super cute. I’m currently working on a newborn version.

This isn’t the first time I’ve made this pattern. I can say it is a Bartholomew County Fair 2017 award winner. Remember this

Have a great day!

Britnee